There’s a specific sound that sends a shiver down any driver’s spine: the rhythmic, metallic “clunk” that happens every time you hit a pothole or turn the steering wheel. It feels like something is loose, and in the world of automotive suspension, that usually means one thing—your ball joints are waving a white flag.
At Orion Motor Tech, we’ve spent 20 years supplying the high-quality, durable ball joint tools needed to keep vehicles on the road. We know that a “clunk” isn’t just annoying; it’s a safety warning. Today, we’re walking you through how to diagnose bad ball joints like a pro.
Understanding the “Clunk”
Ball joints are the critical pivot points that connect your vehicle’s control arms to the steering knuckles. Think of them as the “hip joint” of your car. They allow the suspension to move up and down while simultaneously letting the wheels turn.
When the internal lubrication fails or the polished steel ball wears down the socket, “play” is created. That extra space is what causes the knocking sound as the components slam against each other.
Step 1: The “Drive-By” Ear Test
Before you even grab a jack, pay attention to these three symptoms:
- The Speed Bump Knock: A faint metallic bang when the suspension compresses.
- Steering Wander: Does your car feel like it’s drifting left or right on a straight road?
- Uneven Tire Wear: Look at your front tires. If the inside or outside edges are wearing faster than the rest (feathering), your alignment is being compromised by a loose joint.
Step 2: The “12 and 6” Physical Exam
To confirm your suspicions, you need to get the wheel off the ground.
- Secure the Vehicle: Jack up the front of the car and secure it on jack stands. Never work on a car supported only by a floor jack.
- The Shake Test: Place your hands at the 12 o’clock and 6 o’clock positions on the tire.
- The Movement: Firmly rock the wheel top-to-bottom. If you feel a “click” or see movement that isn’t the whole car moving, your ball joint has failed.
Pro Tip: If you feel movement at 3 and 9 o’clock, that’s usually a sign of a bad tie rod end, not a ball joint!
Step 3: Visual Inspection
Grab a flashlight and look behind the wheel. Check the rubber grease boot on the ball joint.
- Torn Boot: If the rubber is cracked or missing, road salt and grime have already entered the joint, acting like sandpaper.
- Leaking Grease: If the joint is dry, it’s only a matter of time before it seizes or snaps.
Step 4: The Crowbar Method
Sometimes, a ball joint is just beginning to fail and won’t move by hand. Take a pry bar or a large crowbar and place it between the lower control arm and the steering knuckle. Gently pry upward. If the ball joint stud moves independently of the socket, it’s time for a replacement.
Doing the Job Right
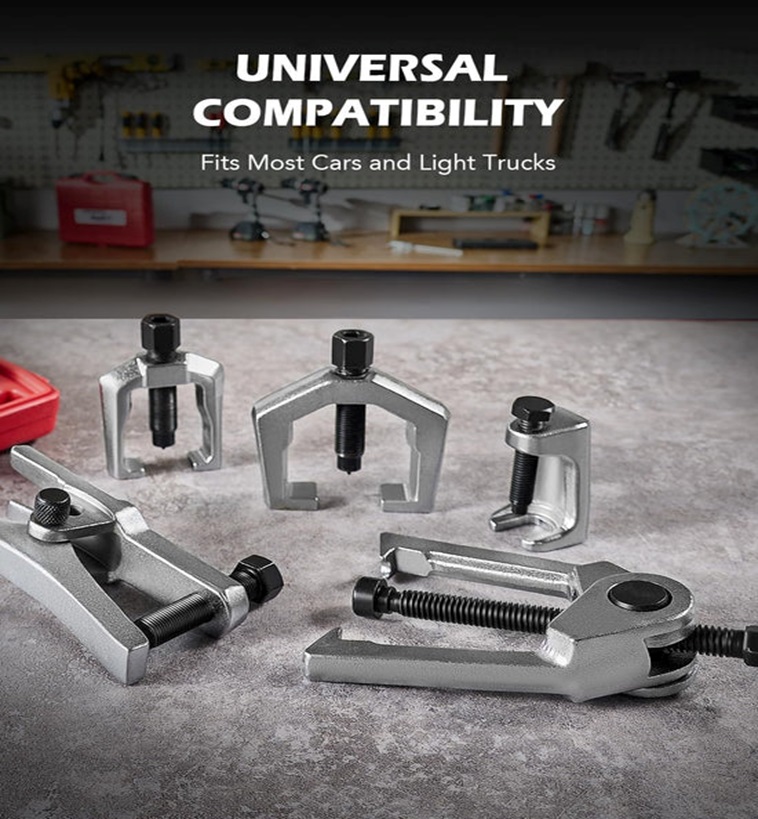
Once you’ve diagnosed a bad joint, the next step is extraction. Because these are press-fit parts, you can’t simply “unscrew” them. For 20 years, Orion Motor Tech has been the trusted choice for professional-grade Ball Joint Press Kits.
Our kits are forged from heavy-duty carbon steel to handle the immense pressure required to pop out a rusted joint without damaging your control arm. When it comes to your suspension, “good enough” isn’t an option—you need tools that are as durable as the parts they replace.